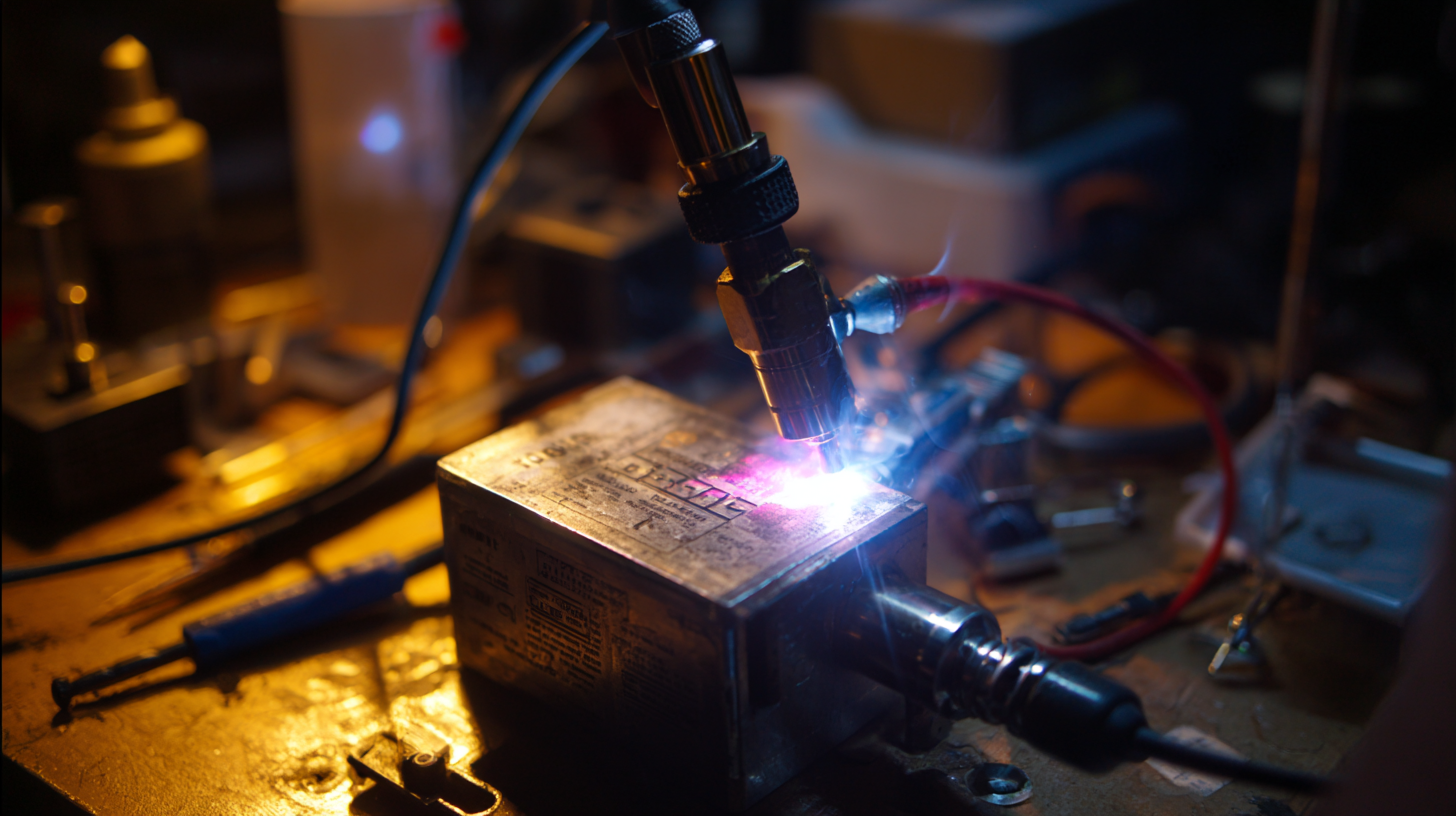
The Essential Guide to Understanding Spot Welders for Your DIY Projects
In the realm of DIY projects, the significance of mastering spot welders cannot be overstated. According to a report by the American Welding Society, the demand for welders is projected to grow by 8% from 2020 to 2029, highlighting the increasing reliance on welding techniques in various industries, including automotive and manufacturing. Spot welders, specifically, have become essential tools for hobbyists and professionals alike, enabling users to join materials quickly and efficiently with minimal heat input. The versatility and compact nature of these machines make them indispensable for tasks that require precision metal joining. As more DIY enthusiasts seek to enhance their skill sets, understanding the capabilities and proper usage of spot welders will allow them to leverage this technology effectively in their projects, ultimately paving the way for innovative creations and improvements in fabrication techniques.
Top 5 Features to Look for in a Spot Welder for DIY Projects
When selecting a spot welder for your DIY projects, there are several key features you should consider to ensure you’re making the best investment for your needs. First and foremost, look for adjustable power settings. This feature allows you to customize the amount of heat applied, which is essential for working with different types of materials and thicknesses. Being able to fine-tune the power will help you achieve optimal weld quality and prevent damage to thinner materials.
Another important feature is the welder's duty cycle. This refers to the amount of time the welder can operate continuously before needing a cooldown period. For DIY enthusiasts, a welder with a higher duty cycle will enable longer working sessions without interruptions, enhancing productivity on larger projects. Additionally, consider the welder's portability. A lightweight and compact design makes it easier to maneuver and store, especially if your workspace is limited. Lastly, check for included accessories and safety features, such as welding gloves and protective eyewear, which are essential for a safe working environment.
7 Essential Safety Tips for Using Spot Welders Effectively
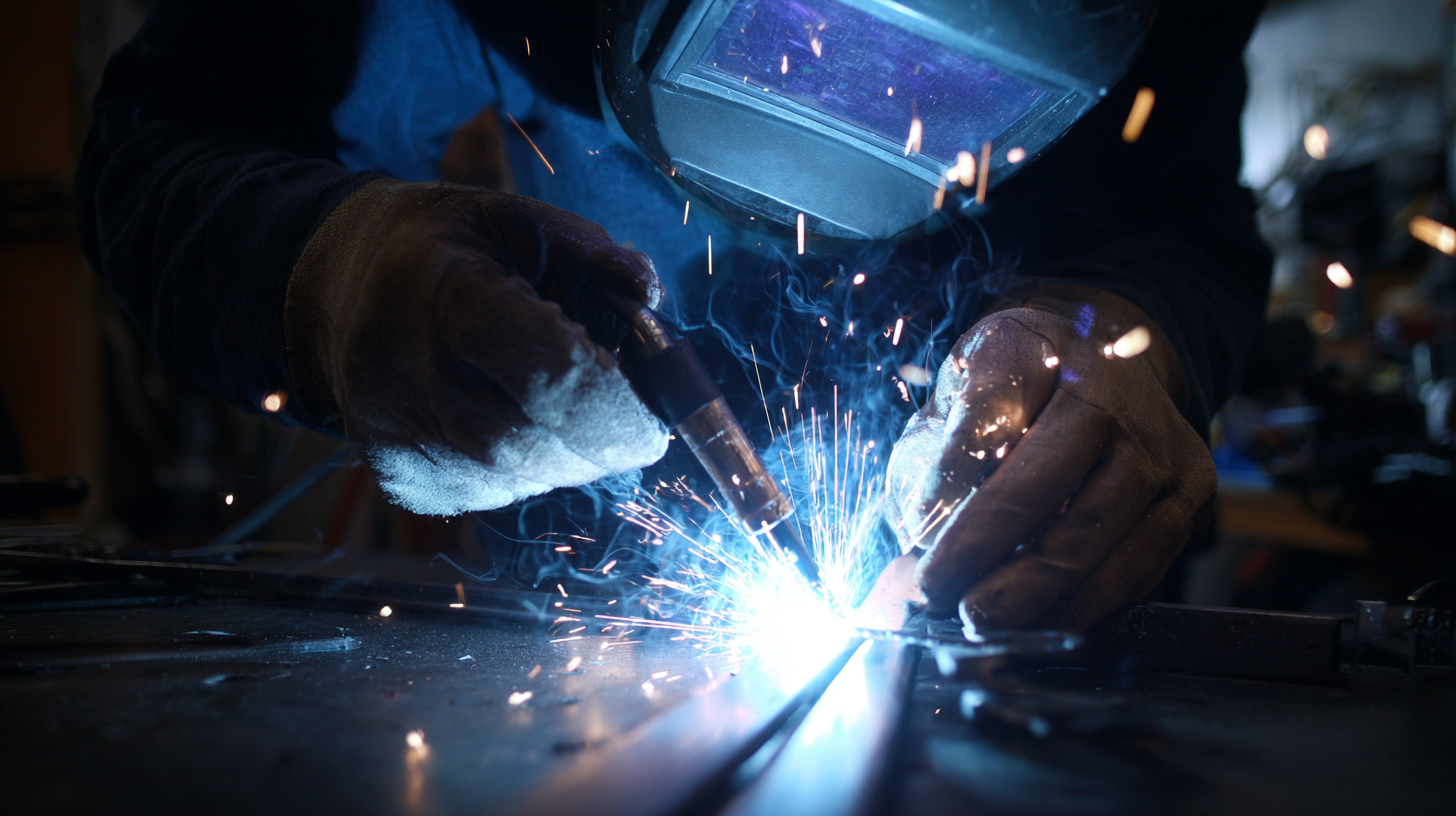
When it comes to using spot welders for your DIY projects, safety should always be your top priority. According to the American Welding Society, approximately 30% of welding injuries occur due to improper safety practices. To ensure a safe working environment, start by wearing personal protective equipment (PPE), such as welding gloves, helmets, and flame-resistant clothing. This gear is vital as it protects against harmful sparks, intense heat, and potential UV radiation.
Additionally, maintaining a clutter-free workspace can significantly reduce the risk of accidents. The Occupational Safety and Health Administration (OSHA) reports that a well-organized area reduces workplace incidents by up to 60%. Ensure that all flammable materials are stored away from the welding area and that the spot welder is in good working condition to avoid malfunctions.
Lastly, always check the machine's electrical components for wear and tear, as faulty equipment can lead to severe injuries. By adhering to these safety tips, DIY enthusiasts can engage with their projects more confidently while minimizing the risk of injury.
3 Key Differences Between AC and DC Spot Welders Explained
When choosing a spot welder for your DIY projects, understanding the differences between AC (Alternating Current) and DC (Direct Current) spot welders is crucial. One key difference lies in the type of current they use.
AC spot welders use alternating current, which means the weld cycle alternates between positive and negative phases. This can help in achieving a wider range of welding applications, particularly on thin materials where heat distribution is more uniform.
In contrast, DC spot welders provide a constant current throughout the welding process, which can result in more focused heat and better control over the weld. This feature is especially beneficial for creating high-quality welds on thicker materials or when precision is paramount, as the heat is applied in a more consistent manner. Additionally, DC welders generally offer faster rise times and can reduce the risk of warping the metal, making them a popular choice for more demanding projects. Understanding these differences can help you select the right type of spot welder to suit your needs effectively.
5 Common Mistakes to Avoid When Using a Spot Welder
When using a spot welder for DIY projects, avoiding common pitfalls can significantly enhance the quality and durability of your welds. One prevalent mistake is not adequately preparing the workpieces. According to a report by the American Welding Society, over 40% of welding failures can be attributed to poor surface preparation. Ensuring that metal surfaces are clean and free from rust or paint can lead to stronger, more reliable welds.
Another common error is using incorrect settings on the spot welder. Many users underestimate the importance of adjusting the welding parameters based on material thickness and type. A study from the Welding Institute indicates that improper settings can reduce weld strength by as much as 30%. Newer spot welders often have preset functions for various materials, which can help mitigate this issue. Understanding and utilizing these settings can make a substantial difference in achieving optimal weld integrity and appearance in your DIY projects.
The Essential Guide to Understanding Spot Welders for Your DIY Projects
5 Common Mistakes to Avoid When Using a Spot Welder
9 Step-by-Step Instructions for Setting Up Your Spot Welder Properly
Setting up a spot welder properly is crucial for any DIY project, ensuring strong and effective welds. Following a systematic approach can help you achieve professional-quality results even as a novice. First, ensure that you have all necessary tools and materials ready, including appropriate safety equipment. Begin by selecting the correct electrode type for your material; different metals require different electrodes to achieve optimal conductivity and heat. Next, set your welder's power settings based on material thickness. For instance, welding thin sheets usually requires less power than thicker materials, typically ranging from 50 to 100 amps for steel.
Once you've adjusted the settings, it’s vital to practice proper positioning of the workpieces. Clean the surfaces to be welded thoroughly, as contaminants can lead to weak joints. Establish a firm but gentle contact when positioning the electrodes, as excessive pressure can deform the material. To ensure weld quality, consider the recommended spot welding duration—often around 0.1 to 0.5 seconds for ideal fusion. Regularly check the welds, adjusting parameters as needed, especially when working on complex projects like custom bike frames or battery packs, where precision is key. Following these step-by-step instructions will greatly enhance your DIY welding skills, making your projects not only feasible but also highly rewarding.